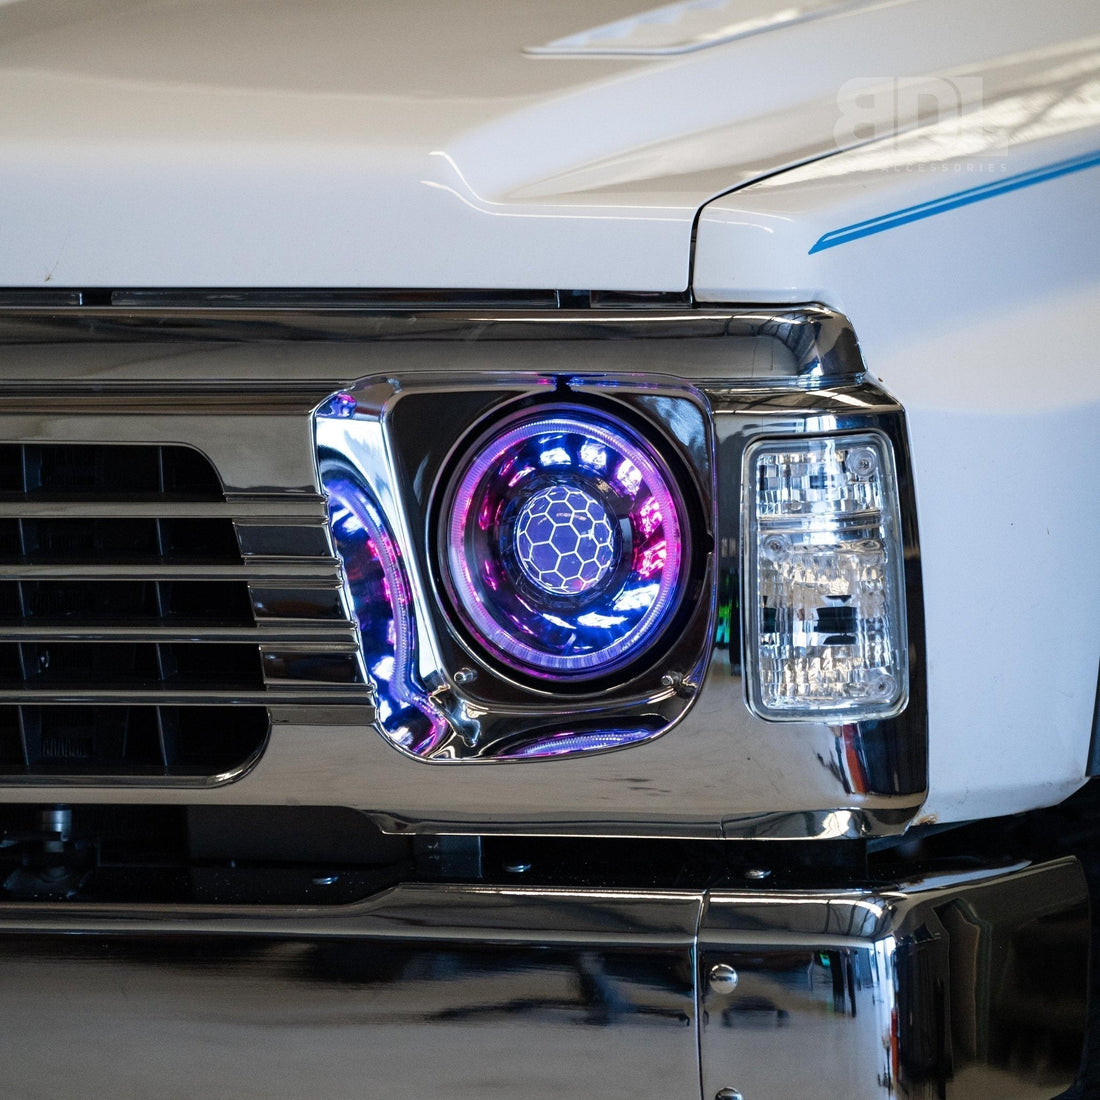
7" Bi-LED Headlights
Important Notes
Professional installation recommended.
Always disconnect your battery before starting.
Test headlights prior to starting installation.
Overview:
Our Bushdoof 7" Bi-LED Headlights are designed for a simple plug & play upgrade while offering full RGB control and premium build quality. Follow this guide to ensure correct installation and setup.
What you'll need:
- Phillips screwdriver
- Trim removal tools (if required)
- Socket set
- Electrical tape
- Zip ties
- Soldering iron or crimp tool
- Multimeter (optional)
- Vehicle manual (for reference)
Step 1: Remove Factory Headlights
- Remove grille, bullbar, or panels as needed to access the headlights.
- Carefully unbolt and remove factory headlights.
- Locate vehicle-side H4 plug, indicator (+), and park light (+) wiring.
- Check behind the headlight housing to ensure enough space for fitment.
- Test fit the new headlights before wiring.
- You may need to slightly bend open the factory headlight brackets to accommodate the larger size of the 7" headlights.
- Confirm bracket hole diameter is suitable—enlarging may be necessary on some vehicles.
Step 2: Wiring Connections
- Attach the H4 adapter between the vehicle’s H4 feed and the new headlight.
- Flip the adapter plug if required to suit positive or negative switched vehicles.
- Tap into the vehicle’s indicator and park light positive wires.
- Connect RGB controllers to a 12V source. This can be:
- Directly wired to the battery via a switch, or
- Connected to the ignition circuit.
- Secure all wiring with zip ties, ensuring it’s clear of sharp edges and heat.
Step 3: Remove Breather Tabs & Moisture Dissipation
- After the headlights are installed and H4 plug connected, remove the top two breather tabs.
- Power the headlights for 10-20 minutes to allow any built-up moisture from storage or transit to dissipate.
- This step is crucial to avoid condensation issues.
- Once complete, reinstall the breather tabs.
Step 4: Final Test & Configuration
- Turn on the vehicle and test low beam, high beam, indicator, and park light functionality.
- Open the Bluetooth app and connect to the RGB controller.
- Rename the controller and configure colours or patterns.
- Sync the lights with other Bushdoof products if required.
- Reinstall grille, bullbar, and any panels removed.
Wiring Diagram:


Tech Specs:
| Feature | Specification |
|---|---|
| Voltage Compatibility | 12V - 16V |
| Waterproof Rating | IP68 |
| Colour Temperature | 6000K |
| Warranty | 1 Year |
| Control Method | Bluetooth App + Inputs |
Downloads: