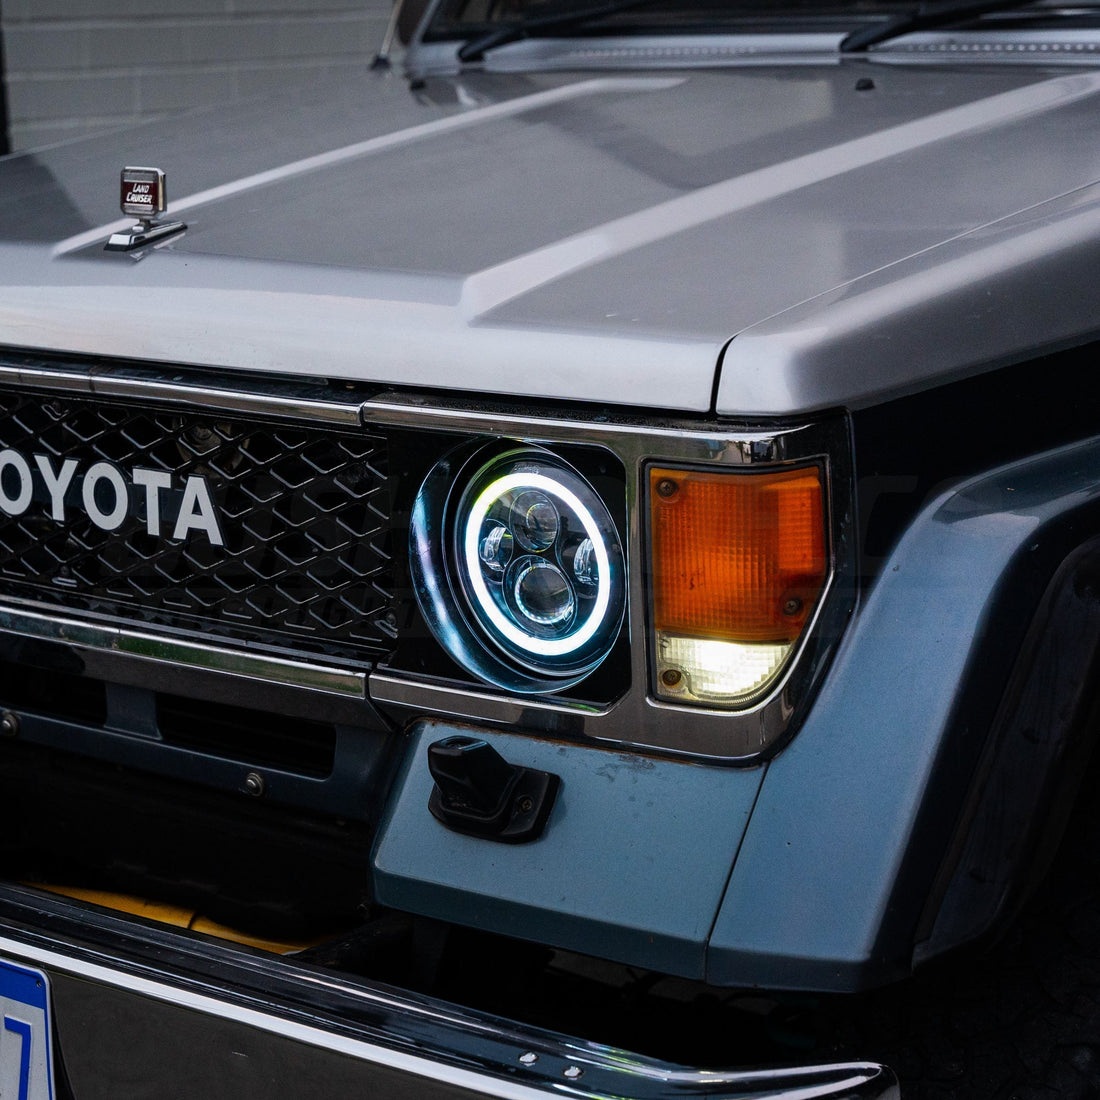
7" Halo Headlight Installation Guide

Important Notes
Professional installation recommended.
Test headlights and wiring prior to installation.
Overview:
Our Bushdoof 7" Headlights are designed for straightforward installation, featuring a single controller with inputs for park lights, indicators, and power. Follow this guide to seamlessly upgrade your vehicle lighting.
What you'll need:
- Phillips screwdriver
- Trim removal tools (if required)
- Socket set
- Electrical tape
- Zip ties
- Multimeter (optional)
- Vehicle manual (for reference)
- Longer screws (may be required for headlight fitment)
Step 1: Remove Factory Headlights
- Check packaging contents, you should have:
- 2x Bushdoof Headlights
- 2x CANBUS Modules
- 1x Bushdoof Controller
- Extension wires - Remove grille, bullbar, or panels as needed for headlight removal.
- Carefully unbolt factory headlights, being gentle with the surrounds as they will be reused.
- Disconnect stock headlight wiring plugs.
- Ensure no damage to factory mounts or trims.
Step 2: Prepare & Route Wiring
- Mount the supplied controller securely, preferably behind the grille or near the radiator support.
- Connect CANBUS Modules to Factory H4 plugs.
- Tap into the factory park light (positive wire) and indicator (positive wire).
- Run a fused power supply to the controller – connect to battery, ignition, or auxiliary switch depending on how you'd like them setup
- Use a 7.5Ah fuse on power input for safety.
- Secure wiring neatly using zip ties and avoid heat sources or sharp edges.
- Refer to wiring diagram below for wiring details.
Step 3: Install Bushdoof 7" Headlights
- Test all wiring connections and ensure lights are functioning before final fitment.
- Position headlights carefully into factory surrounds – due to slightly thicker build, longer screws may be needed on some vehicles.
- Secure headlights using factory mounts and screws (replace with longer screws if necessary).
- Adjust beam alignment: facing a wall 5-10 meters away, check low and high beam height.
- Use adjustment screws to level beams to prevent blinding oncoming traffic and ensuring good visibility.
- Reinstall grille, bullbar, and any panels removed earlier.
Step 4: Test & Configure
- Turn on vehicle and check all headlight functions – low beam, high beam, indicators, park lights.
- Ensure everything is working and all connections are properly secured and insulated.
- Download the Bluetooth control app below, pair your device, and configure desired colours or settings.
Wiring Diagram:

Tech Specs:
| Feature | Specification |
|---|---|
| Voltage Compatibility | 12V / 24V |
| Waterproof Rating | IP68 |
| Colour Temperature | 6000K |
| Warranty | 1 Year |
| Control Method | Bluetooth App + Inputs |
Downloads: