Rock Light Installation Guide
Important Notes
Professional installation recommended.
Test rock lights and wiring prior to installation.
Video Guide:
Overview:
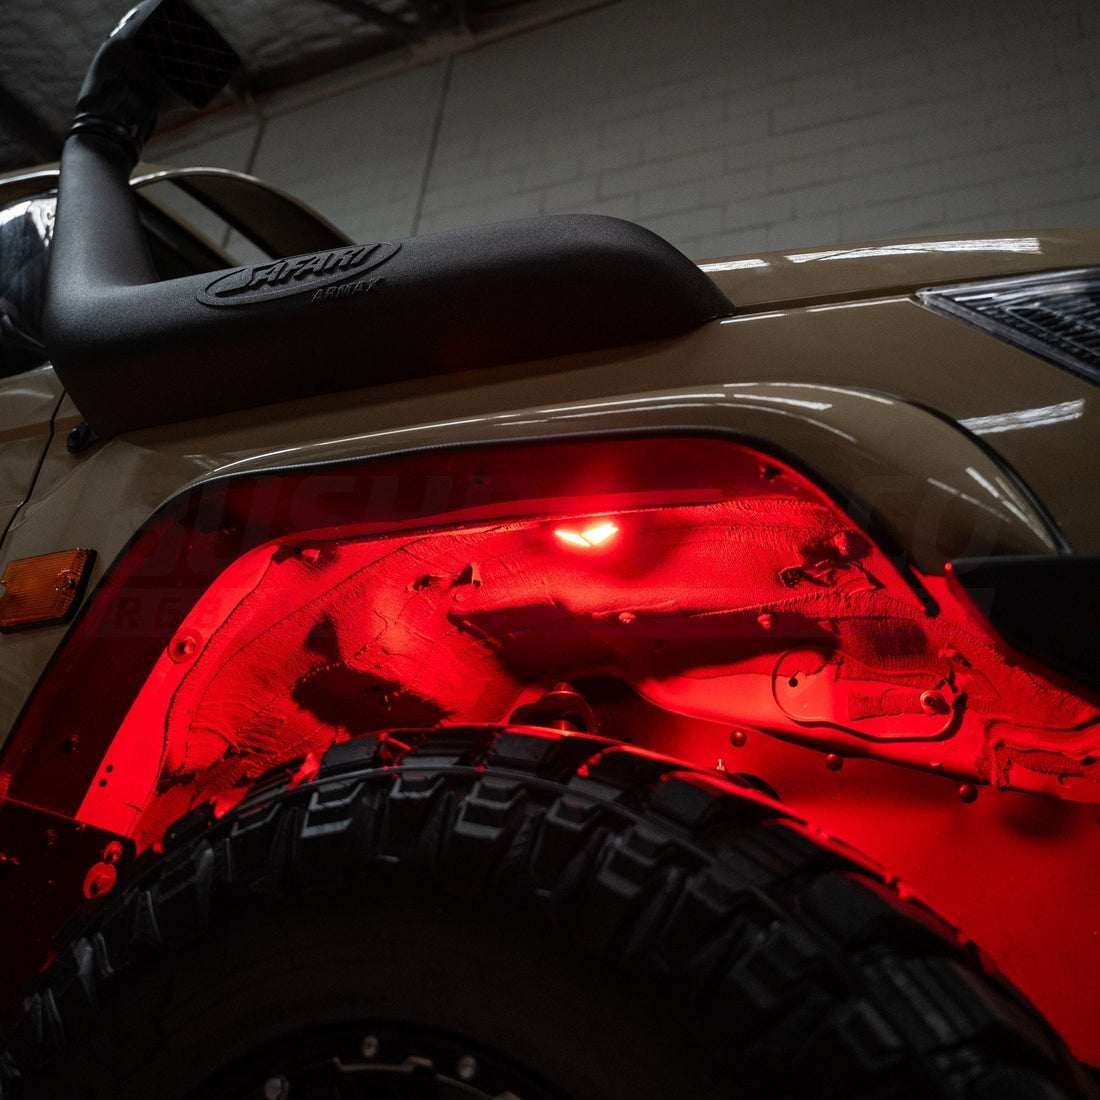
Our Bushdoof Rock Lights (RGB and Chasing RGB variants) are designed for seamless integration, offering vibrant underbody lighting with full app control. Follow this guide to properly set up, wire, and mount your kit.
What you'll need:
- Drill with 4mm drill bit
- Trim removal tools (if required)
- Phillips screwdriver
- Socket set
- Electrical tape
- Zip ties
- Multimeter (optional)
- Soldering iron or crimp tool
- Vehicle manual (for reference)
- Silicone sealant (optional for waterproofing)
Step 1: Test Lights & Orientation
- Lay out all rock lights and controllers on a clean surface.
- Plug in the controller and test all rock lights to ensure functionality.
- For Chasing Rock Lights:
- The first light in each daisy chain will have twin plugs.
- The chain will end with a single plug light.
- Confirm chasing effect direction during testing and note positions before mounting.
Step 2: Install Controller & Wiring
- Mount the RGB controller in a secure, accessible location (e.g., engine bay or cabin).
- Measure and run extension wires through the vehicle, ensuring each light can reach its mounting position.
- Extend red (positive) and black (negative) wires if needed.
- Connect controller to a 12V power source via switch or direct to battery.
- Install a 5Ah fuse on the positive wire for safety.
- Secure wiring neatly with zip ties, keeping away from sharp edges and heat sources.
Step 3: Mount Rock Lights
- Use the supplied rubber mounting brackets as templates.
- Drill mounting holes with a 4mm drill bit.
- Bolt each rock light with rubber backing to wheel arches or underbody using provided hardware.
- Power up the system once more before final tightening to confirm chasing direction is correct.
- Adjust if necessary before fully securing each light.
Step 4: Final Test & Configuration
- Confirm all lights function properly.
- Open the Bluetooth app and connect to the RGB controller.
- Rename the controller to easily identify it.
- Group it with other Bushdoof products to sync effects.
Wiring Diagram:

Downloads: