IMPORTANT: Please read all Instructions prior to installation.
Fitment Time: 2 - 5 Hours
step 1:
- Test Controllers & all Rock Lights prior to installation
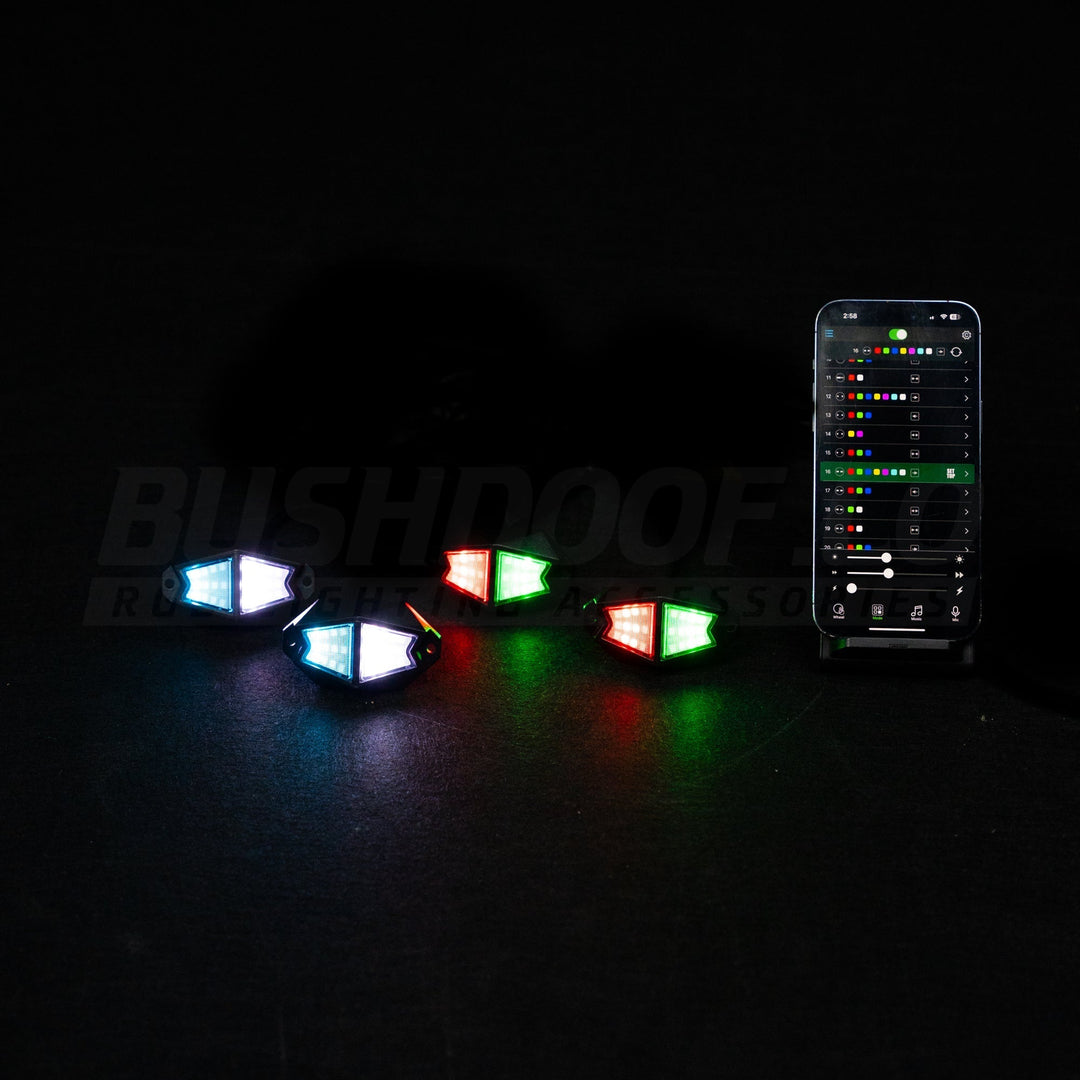
- During testing, you will find the correct light orientation for the chasing effect. The first light in the daisy chain(s) will we twin plug. The chain will end with the single plug rock light.

step 2:
- Fit RGB Control Box in a suitable location
- Measure Extension wire lengths when installing on vehicle to ensure all lights will reach.
- Extend Red/Black wiring if required
- Connect to a 12v Source via a switch or directly to a battery (must be fused)
- 5Ah fuse recommended
- Red = Positive
- Black = Negative (-)
- Yellow = Indicator (+)
- Green = Indicator (+)
- White = Brake Light (+) or can be used as a Red Light override via a switch
step 3:
- Now that you have run all your wiring through the car & powered your RGB controller, we can move on to mounting the rock lights.
- Drill holes using the rubber mounting bracket as your template with a 4mm drill bit.
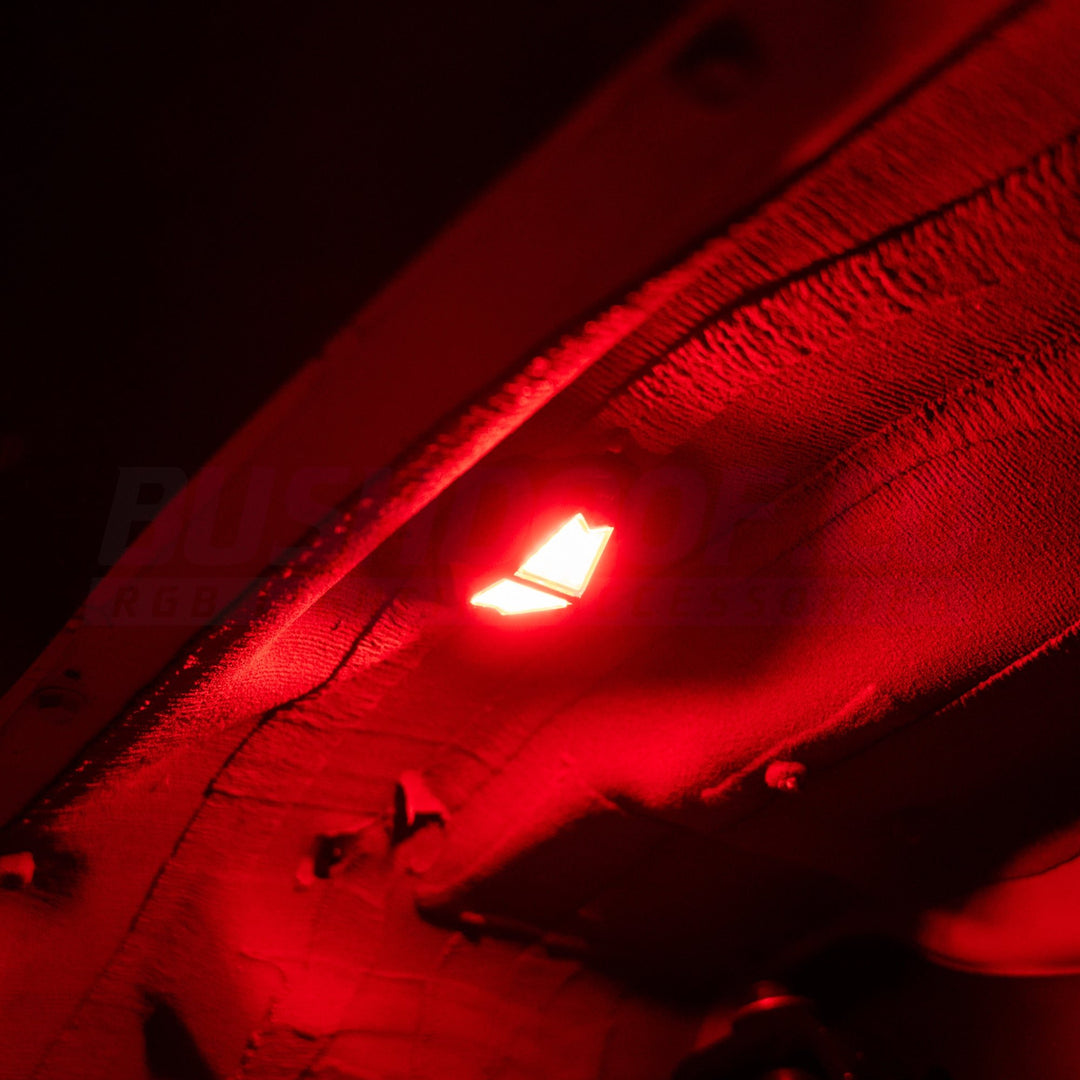
- Using the hardware provided, fasten your rock light with rubber backing onto your wheel-arch or underbody.
- It is crucial to power the rocklights one more time prior to bolting them in, to ensure the rock lights perform their chasing effect in the correct direction. If you don't check this, you may have one light performing its pattern in the wrong direction.


test & enjoy
- Ensure everything is functioning as it should.
- Open the Bluetooth App & select the RGB Controller.
- Re-name the Controller to make it easy to distinguish & create a group with other products to Sync them together!
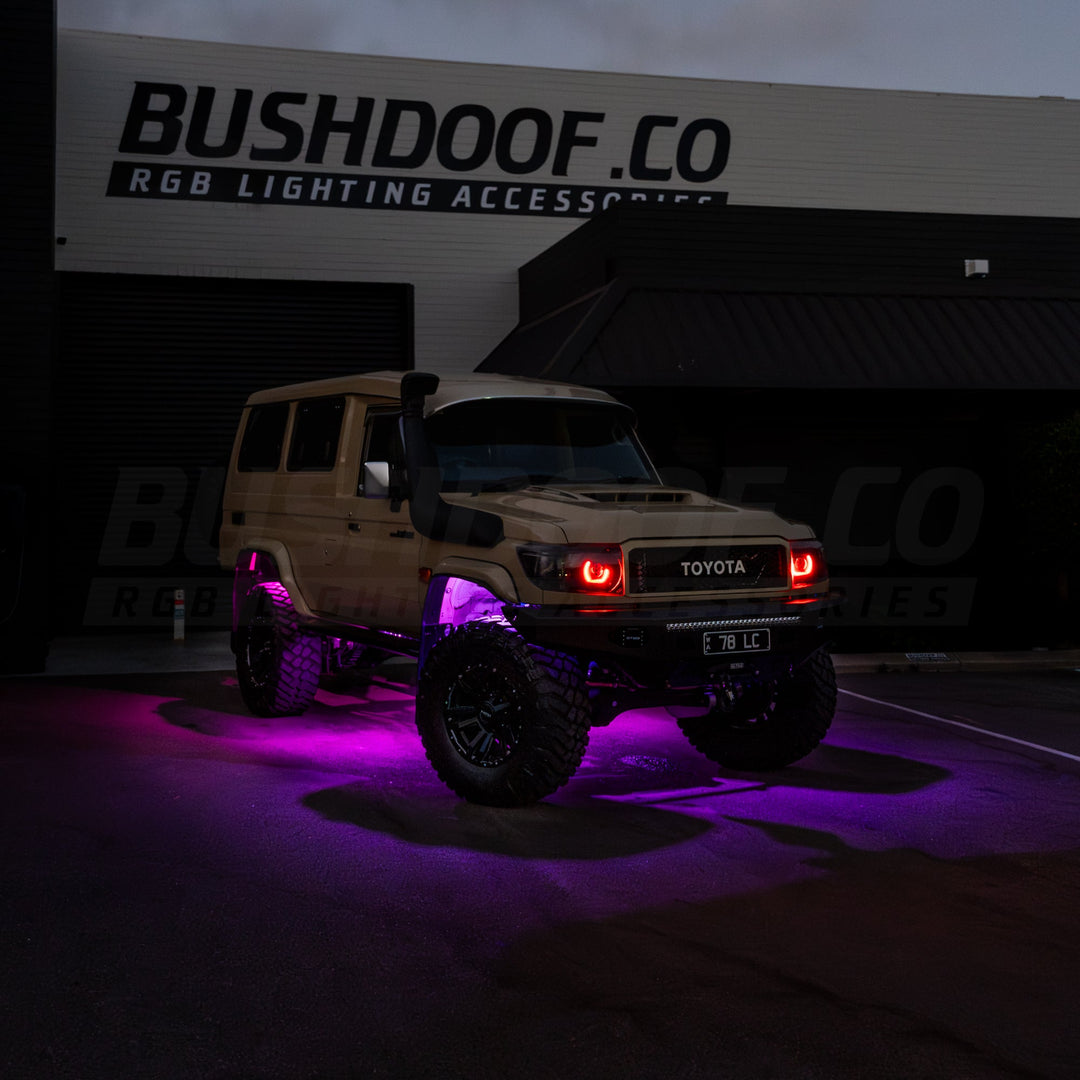
Don't forget to show us your setup!


