


IMPORTANT: Please read all Instructions prior to installation.
Fitment Time: 1 - 3 Hours

step 1: brackets
Install the mounting brackets onto the lights using the nuts and bolts provided. Drop the nut into the back of the light, it will self locate & grip. Using the allen key provided, tighten the brackets firmly.
step 2: Fitment
Install the lights onto your vehicle using the nut and bolt kit provided for each light. If you plan on jumping your vehicle or doing 1000's of kilometers on corrugated dirt roads, you may need large washers to provide a stronger fitment of the brackets.


step 3: Wiring
Install the controller in a safe location ensuring it is secured firmly. Ensure no wires are pinched or rubbing on any sharp parts of the vehicle body. The Gen 4 kit has a 3 piece, making is easy to run wires through your car and plug them up when you are happy with the location of all components.
Step 4: power
Connect the 2 wires from the controllers (Positive/red & Negative/black) to a 12v Supply. We recommend connecting directly to your battery. If wiring needs to be extended this should be performed by a professional, using the correct gauge wire & fuse.

Step 5: usage
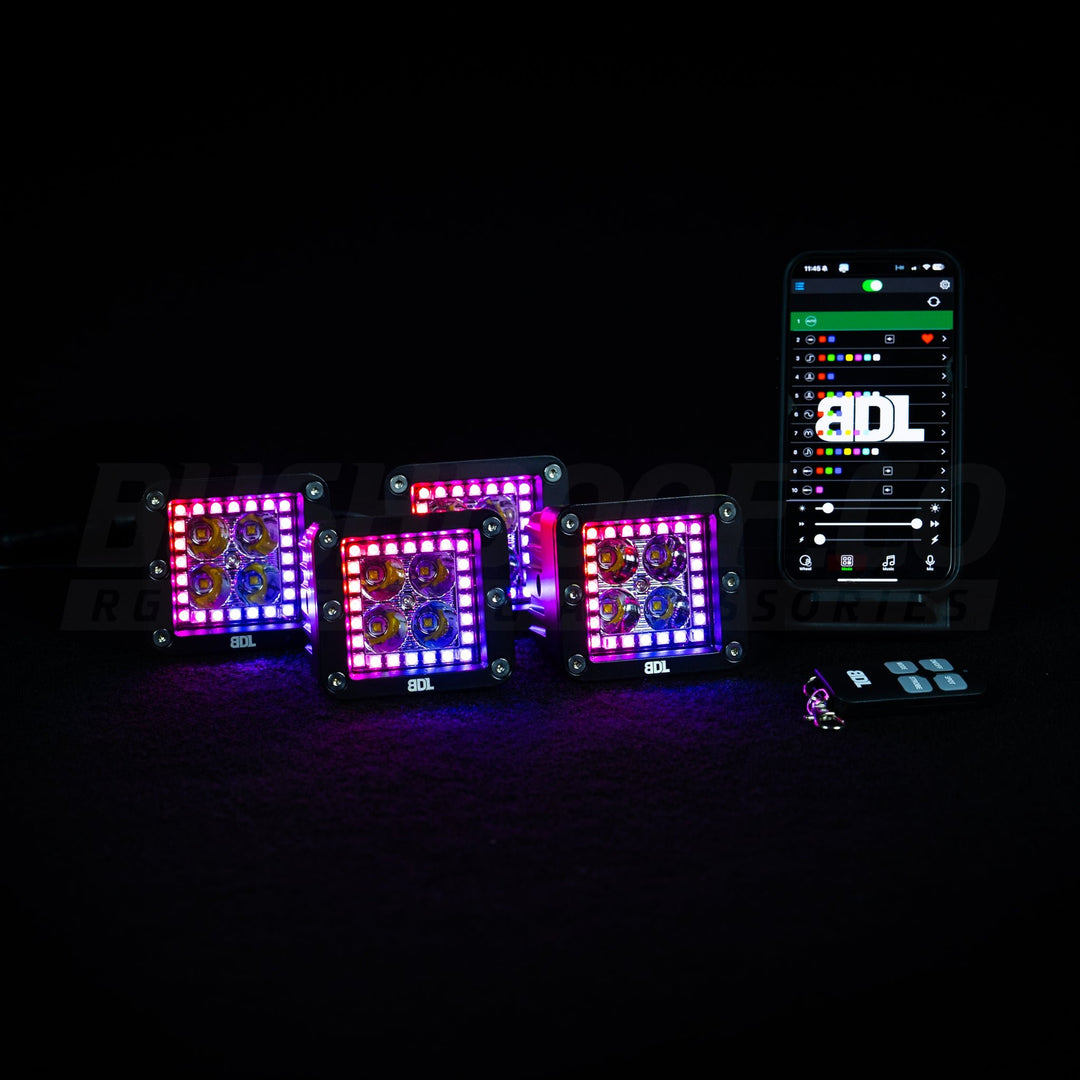
Connect the plugs and let the party begin! Use the remote for strobe control, and connect via the BLEDIM2 app to control the halo RGB lights. You can pair the RGB part of this product with also all other Bushdoof Lighting products!