


IMPORTANT: Please read all Instructions prior to installation.
Fitment Time: 1 - 3 Hours
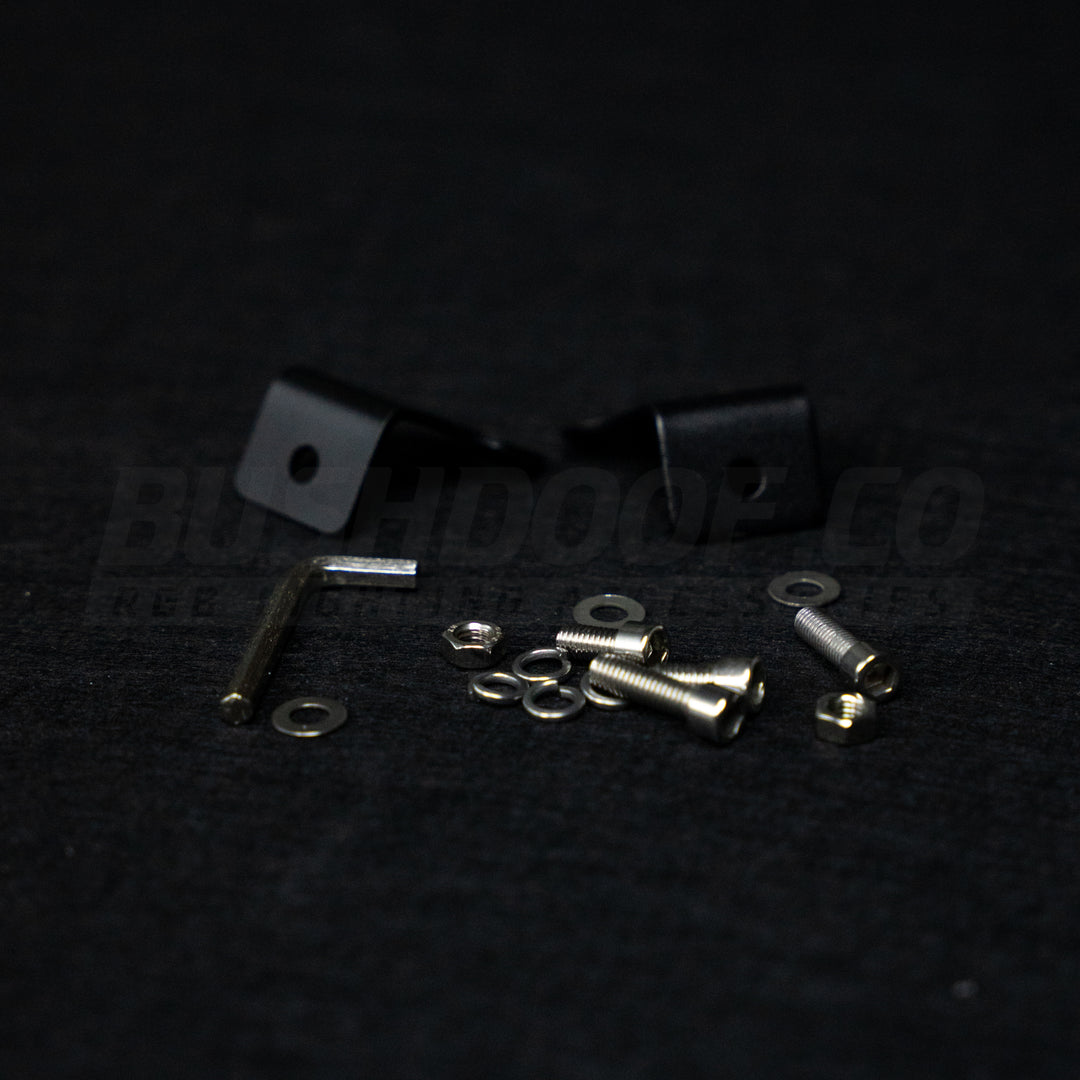
step 1:
- Test Controllers & Light Bar prior to installation
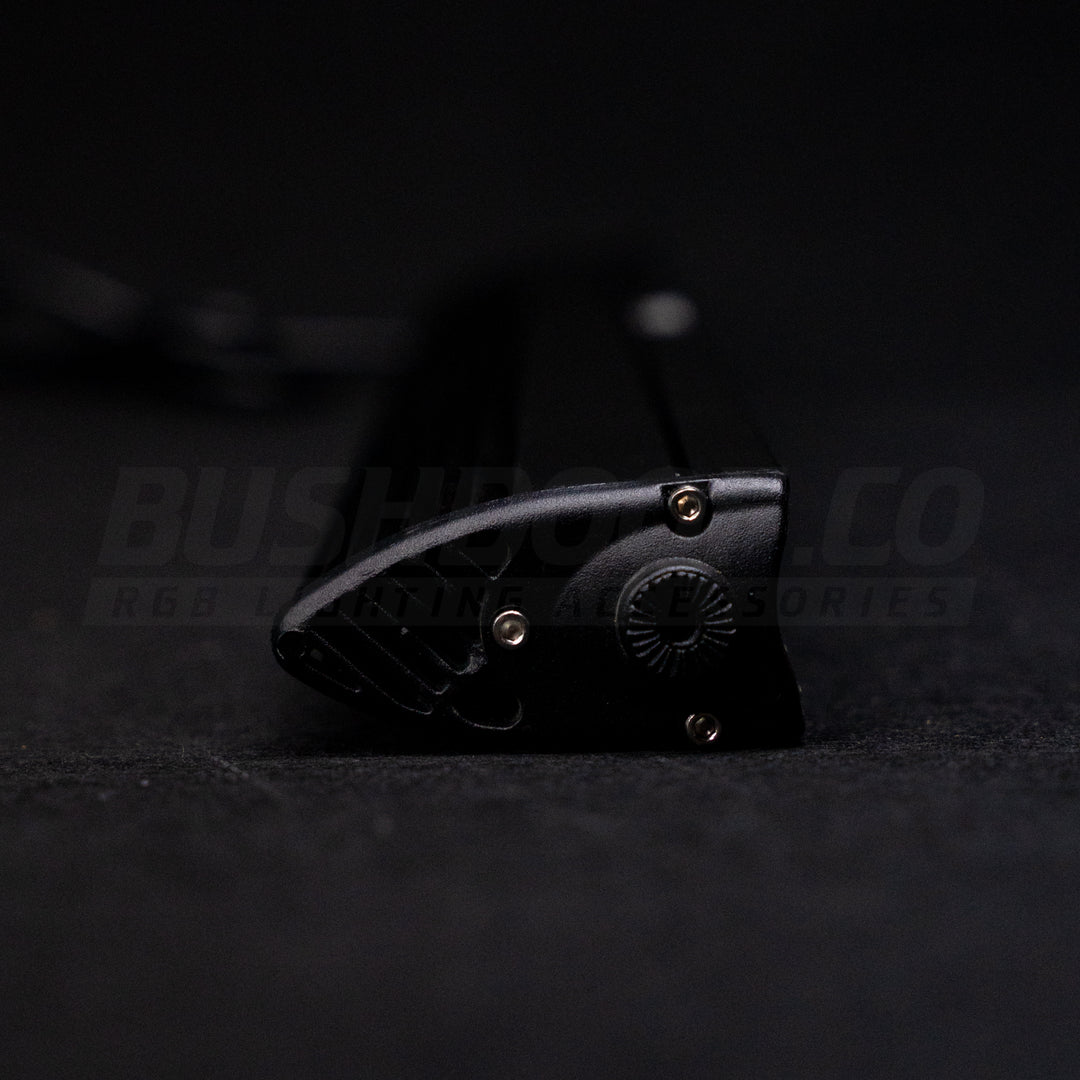
- Fit mounting brackets to the Light Bar using included hardware
- Measure and mount in desired location

step 2:
- Fit RGB Control Box in a suitable location
- Extend Red/Black wiring if required
- Connect to a 12v Source via a switch or directly to a battery (must be fused)
- 7.5Ah fuse recommended
- Red = Positive
- Black = Negative
step 3:
- Connect Light Bar wiring to 12v or 24v Source
- Red = Positive (must be fused)
- Black = Negative
- Ensure appropriate gauge wiring, switches & relays are used.
- If using our Play & Play Light Bar Wiring Harness
- Extend wiring if needed & connect included Deutsch Plug to Light Bar
- Install Harness, mounting Relay, Switch & Connecting to 12v/24v Battery
- Plug in Light Bar & Harness via the Deutsch Plug Connection
Light Bar Spot/Spread Specifications
32 inch:12V @ 6.8A 81W | 24V @ 3.4A 81.6W
42 inch:12V @ 13.6A 163W | 24V @ 7.4A 177W
50 inch:12V @ 21.2A 254W | 24V @11.6A 278.4W
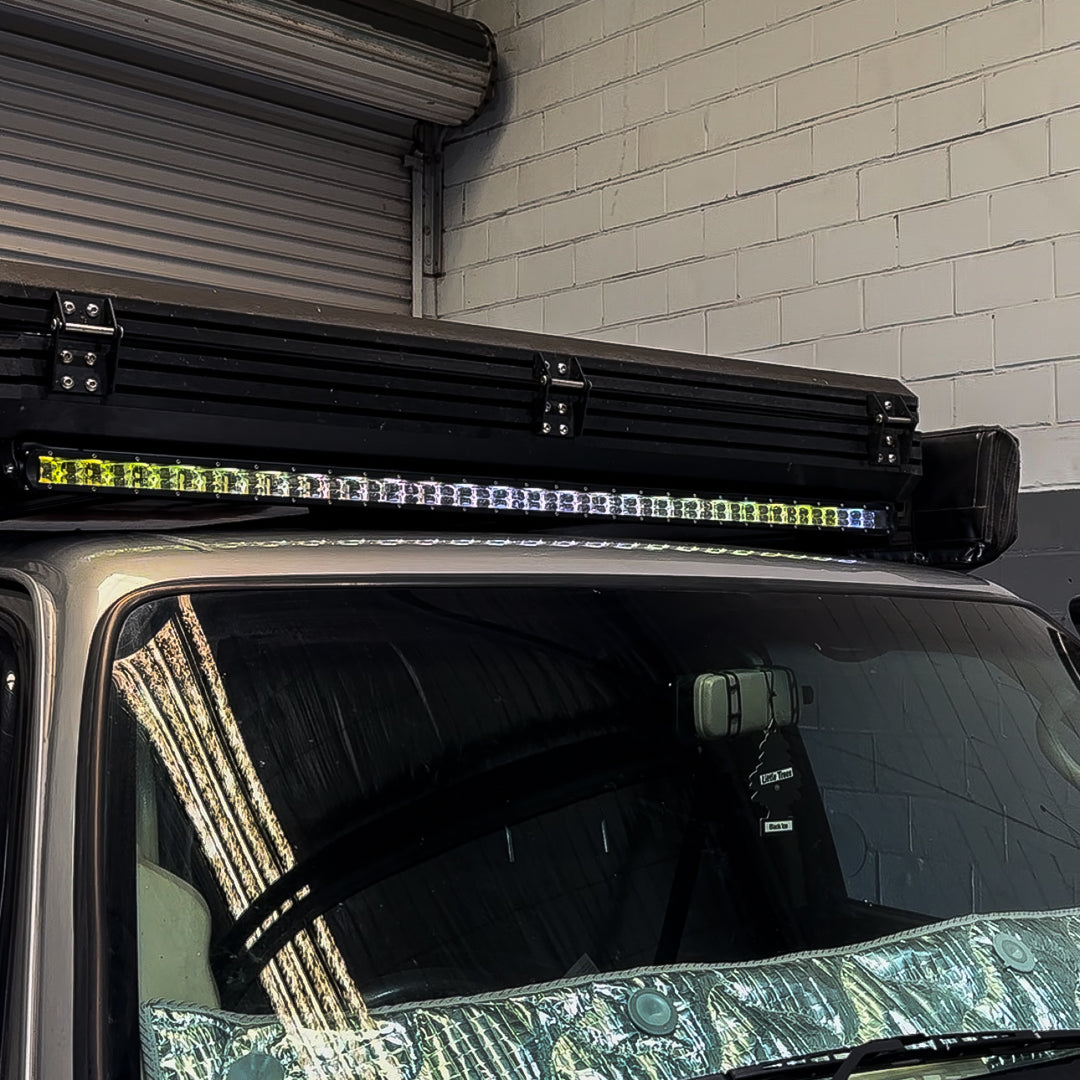
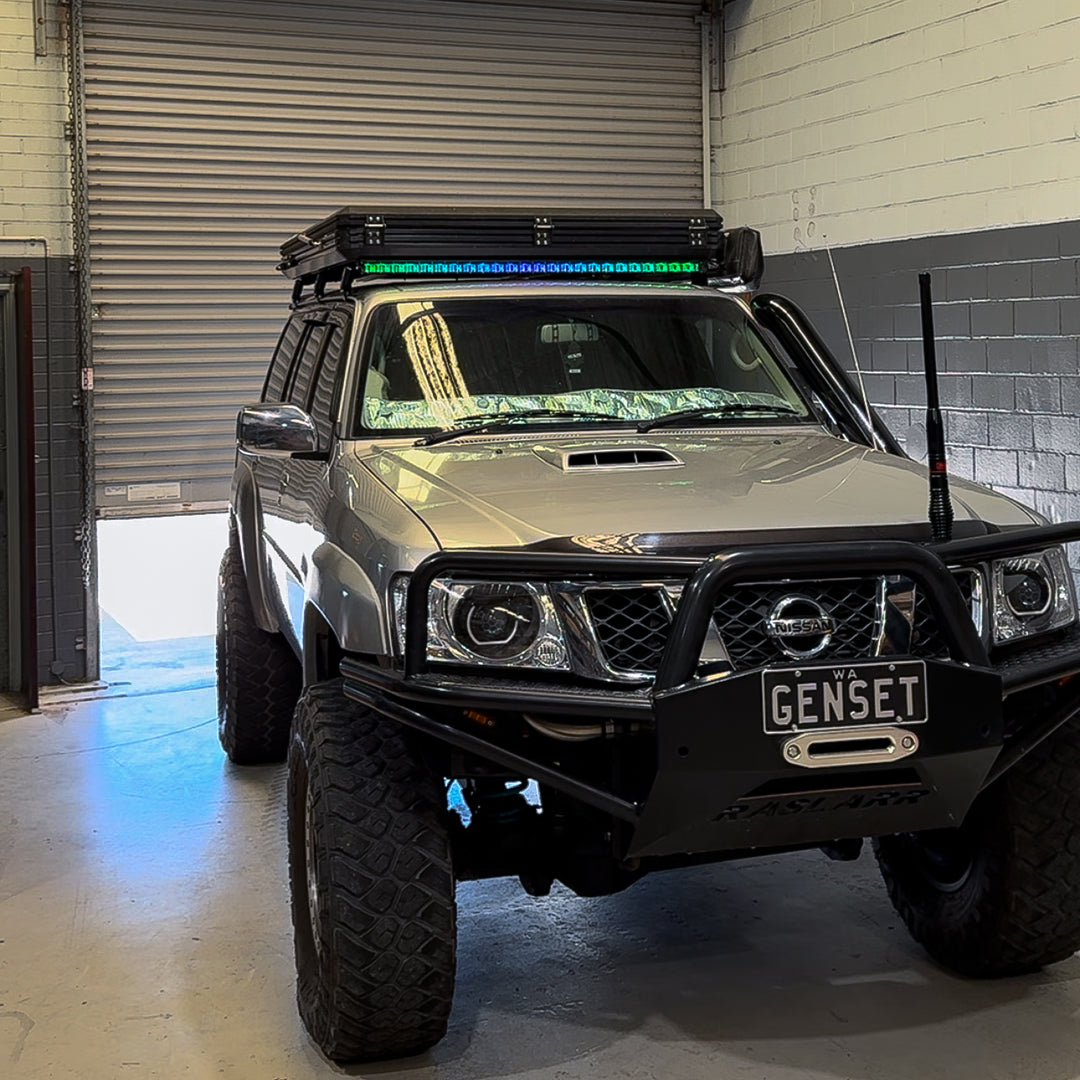
test & enjoy
- Ensure everything is functioning as it should.
- Open the Bluetooth App & select the RGB Controller.
- Re-name the Controller to make it easy to distinguish & create a group with other products to Sync them together!
Don't forget to show us your setup!