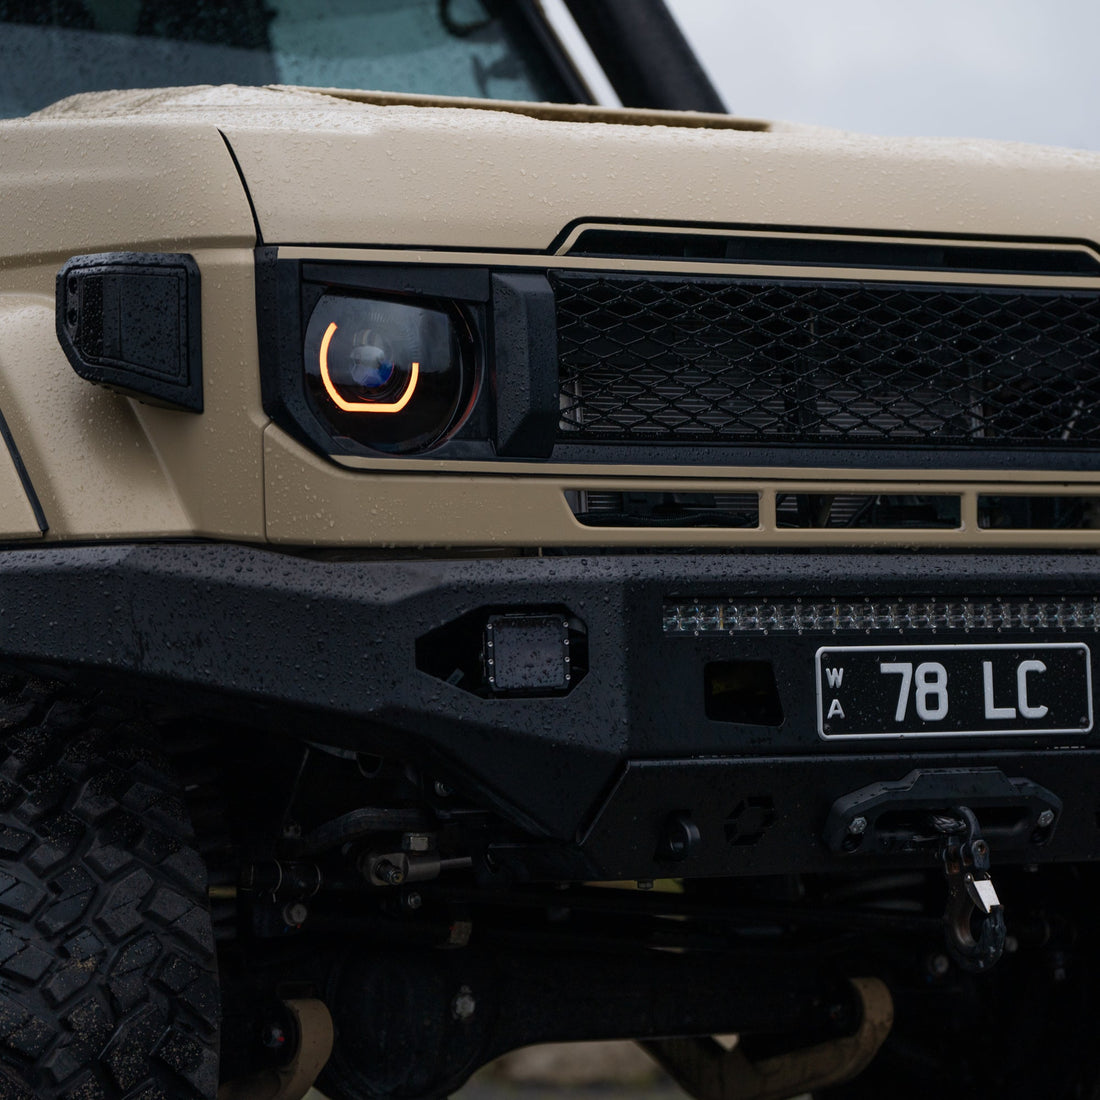
70 Series 2024+ Custom Bi-LED Headlight Installation Guide

Important Notes
Professional installation recommended.
Always disconnect your battery before starting.
Test headlights prior to starting installation.
Overview:
Bushdoof Custom Headlights are engineered for easy installation using factory mounts and plug & play connections. Follow this guide for a seamless install.
What you'll need:
- Phillips screwdriver
- Trim removal tools
- Soldering iron or crimp tool
- Socket set
- Electrical tape
- Zip ties
- Multimeter (optional)
- Vehicle manual (for reference)
Step 1: Remove Factory Headlights
- Check Bushdoof Bi-LED Headlights are not damaged from transit and confirm all components are included:
- - 2x Bushdoof Bi-LED Headlights
- 1x Demon Eye Controller + Extension Wire
- 1x RGBW Controller + Extension Wire
- 2x H4 Adapters
- 2x H4 to Toyota 6-pin Adapters - Remove grille, bullbar, and anything needed to access the headlights.
- Remove factory headlights, isolating indicators & park lights.
Step 2: Prepare & Route Wiring
- Mount controllers out of direct weather — behind the grille, under the radiator support, or behind a headlight depending on vehicle accessories.
Mount controllers closer to one side so wiring reaches the headlight plug directly, then use extension cables for the other side. - Run extension wires from both controllers to each headlight location.
- Locate indicator (+) wires on each side and the park light (+) wire on one side if using the Bluetooth controller’s input wires for shroud park/indicator features.
Step 3: Power Controllers
- Power both controllers from the same source by splicing them together.
For full-time use, connect to a 12V source. For ignition-only use, connect to an ignition source. - Splice into indicator & park light (+) wires ensuring proper insulation.
- If removing the factory indicator globe, add a load resistor between (+) and (–) indicator wires to prevent hyper-flashing.
- Ensure all connections are fused. A 7.5A fuse is recommended.
The most common way to wire controllers is to splice them together and fuse directly to the battery. This allows app access anytime, while park light and indicator functions continue automatically.
Alternatively, wire to an ignition source so controllers only power up with ignition on.
⚠️ When the white park light input wire is active, it overrides RGB selections in the app. On newer 70 Series, DRL may also override this input.
If you want RGB to activate automatically, wire to ignition or DRL feed and set a solid colour in the app. The controller remembers the last colour on power-up.
Important: Driving with RGB lights is not ADR compliant and not recommended for road use.
Step 4: Headlight Installation
- Install Bushdoof headlights, connecting H4 adapters to the supplied Toyota adapter and controllers.
- Ensure all wiring is neat and lights function correctly before reinstalling grille and trims.
- Level your headlights: Park 5–10m from a wall and check low beam height.
- Adjust screws on the back: bottom screw clockwise lowers beam, top screw clockwise raises beam.
Avoid anticlockwise — projector may touch lens if adjusted too far. - Reinstall grille, bumper, and any removed parts.
Step 5: Test & Configure
- Download the apps and allow Location Services & Bluetooth.
- In Magic LED App, select SP105E Controller.
- In LED Lamp App, use Search it should connect automatically.
- Run low/high beams to dissipate any moisture.
- If excessive moisture does not clear within 10 days, contact us.
Wiring Diagram:
Tech Specs:
| Feature | Specification |
|---|---|
| Voltage Compatibility | 12V - 16V |
| Waterproof Rating | IP68 |
| Colour Temperature | 6000K |
| Warranty | 3 Years |
| Control Method | Bluetooth App + Inputs |
Downloads:

