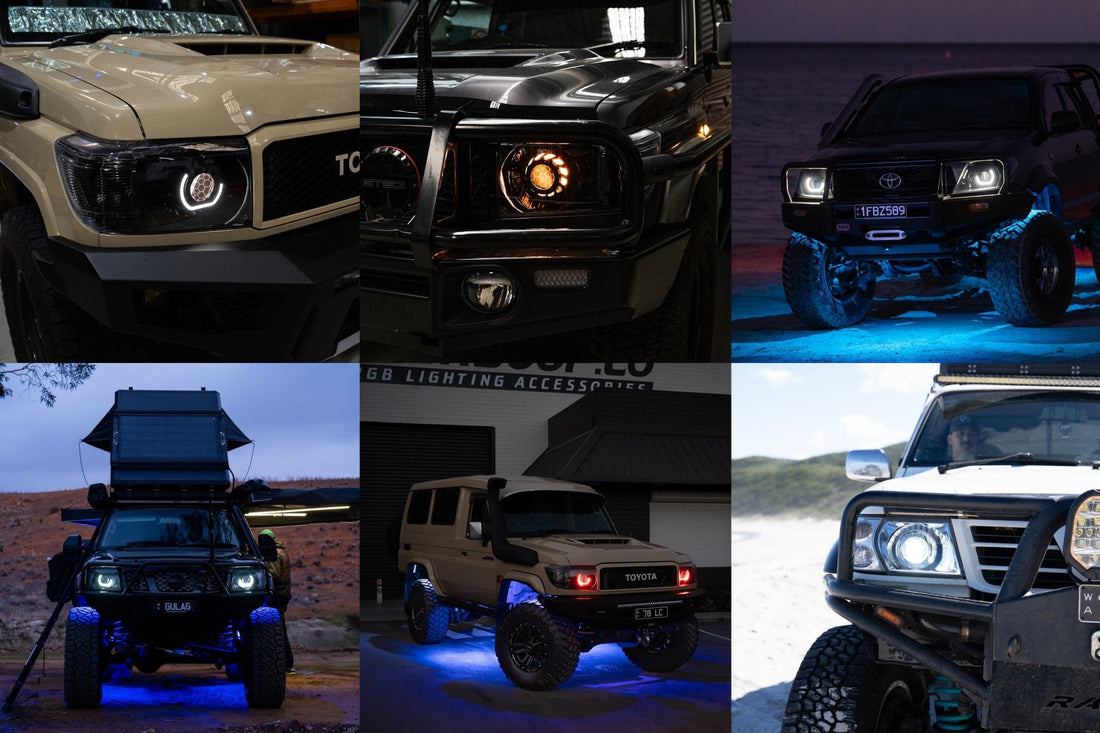
Custom Bi-LED Headlight Installation Guide

Important Notes
Professional installation recommended.
Always disconnect your battery before starting.
Test Headlights prior to starting installation.
Overview:
Bushdoof Custom Headlights are engineered for easy installation using factory mounts and plug & play connections. Follow this guide for a seamless install.
What you'll need:
- Phillips screwdriver
- Trim removal tools
- Soldering iron or Crimp tool
- Socket set
- Electrical tape
- Zip ties
- Multimeter (optional)
- Vehicle manual (for reference)
Step 1: Remove Factory Headlights
- Ensure Bushdoof Bi-LED Headlights are not damaged from transit & all components are there.
- You should have:
- 2x Bushdoof Bi-LED Headlights
- 1x Demon Eye Controller + Extension Wire
- 1x RGBW Controller + Extension Wire
- 2x H4 Adapters
- 2x CANBUS Modules (if vehicle requires them)
- Remove Grille, Bullbar and anything needed to remove your existing Headlights.
- Remove Headlights, isolating indicators & park lights.
Step 2: Prepare & Route Wiring
- We recommend mounting controllers out of direct weather, behind the grille, under the radiator support or behind a headlight depending on the vehicle.
Mount the controllers closer to one side so that wiring reaches both Headlights. - Plug in CANBUS modules (if they were supplied) to your H4 vehicle feed.
- Plug the H4 Adapter into the CANBUS Module (or H4 feed if not supplied).
- Run the extension wires from both controllers to each Headlight location.
- You will need to locate both Indicator (+) wires and the Park Light (+) wire on one side of the vehicles feed.
Step 3: Power Controllers
- Wire in both controllers, we recommend powering both controllers from the same source, splicing them together for ease of installation.
Power them to a full time 12V source if you want the ability to use the controllers when the vehicle is off otherwise use an ignition source for full time power. - Splice into the Indicator & Park Light (+) wires ensuring they are properly insulated.
- If removing the factory Indicator globe, add an Load Resistor between the (+) & (-) indicator wires to prevent hyper-flashing.
- Refer to the wiring information below for Wiring Diagram.
- Ensure all connections are fused, a 7.5Ah fuse is recommended.
Step 4: Headlight Installation
- Install Bushdoof Headlights, plugging in H4 adapters & controllers.
- Ensure all wiring is working as intended.
- Now it's time to level your new Headlights. Take note of the low beam beam output while the car is facing a wall of roughly 5-10 meters away.
- Ensure the low beam is not shining too high, as you will blind oncoming traffic.
- Adjust the screws on the back of the headlight to your desired height, match the level of both the left and right headlight.
- Always adjust the bottom screw in (clockwise) to lower, or adjust the top screw in to raise the beam height. Avoid anticlockwise adjustment, as this will bring the projector closer to the lens. This can cause the projector to touch the lens, if you go too far.
- Put grille, bumper and any parts removed back on the vehicle.
Step 5: Test & Configure
- Download the App(s) below to take control of your Headlights. Ensure Location Services & Bluetooth Connections are allowed.
- For the Magic LED App, Select the SP105E Controller in the App to connect.
- For the LED Lamp App, It should automatically connect in the App after selecting the 'Search' function.
- It is recommended to drive with your Low/High beams on to dissipate any moisture out of your Headlights.
-
If there are signs of excessive moisture build up or moisture has not dissipated from the Headlights after 10 days of use, please contact us.
Example Video Guide:
Wiring Diagram:
Tech Specs:
| Feature | Specification |
|---|---|
| Voltage Compatibility | 12V - 16V |
| Waterproof Rating | IP68 |
| Colour Temperature | 6000K |
| Warranty | 3 Years |
| Control Method | Bluetooth App + Inputs |

