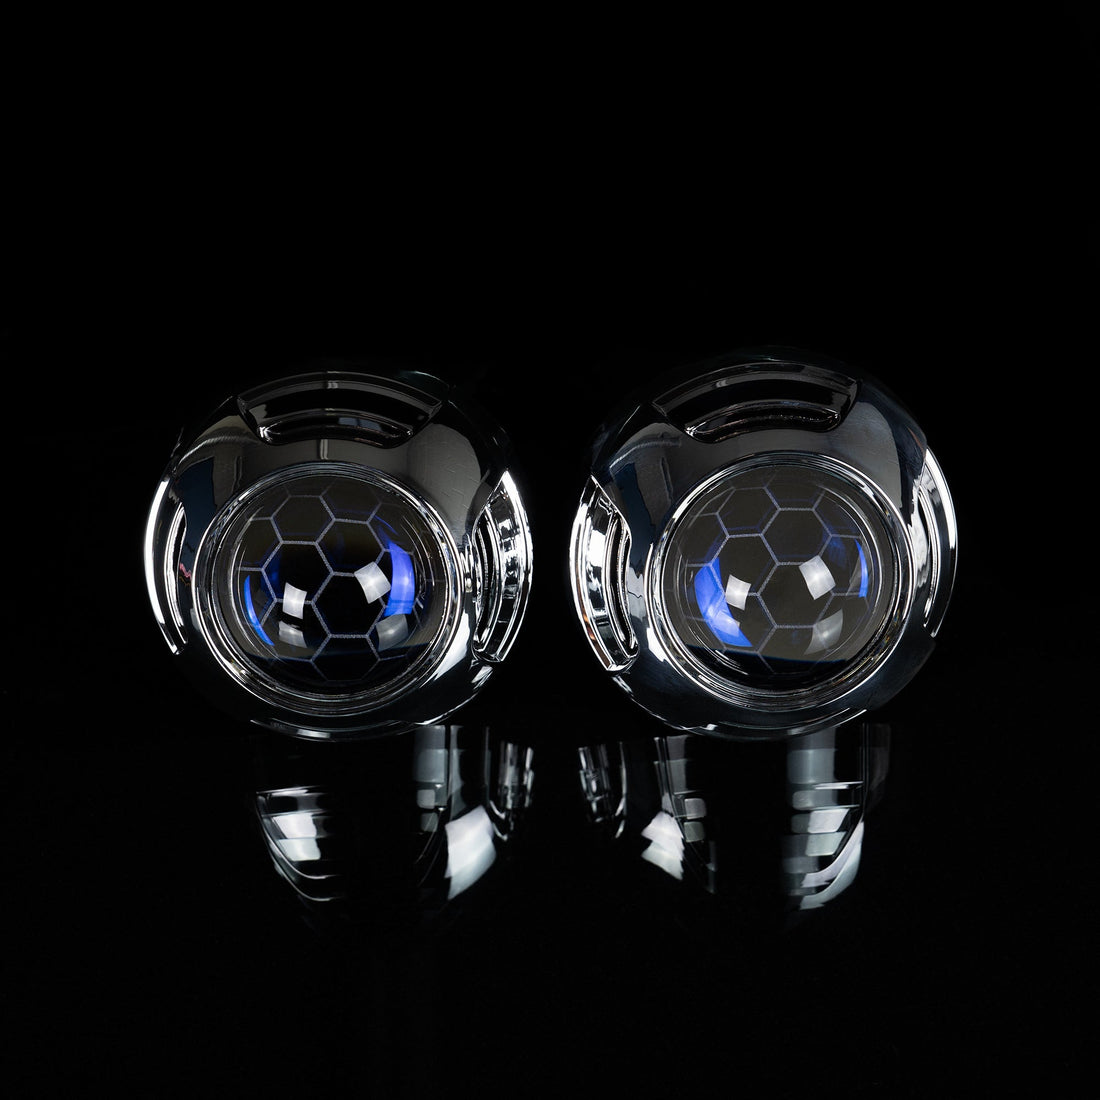
OEM+ DIY Kit Installation

Retrofitting Bushdoof DIY Headlight Kits (OEM+ Chrome Shroud)
Important Notes
- Ensure all components are tested prior to installation.
- Download and pair LED LAMP Bluetooth app (if applicable) before starting to confirm functionality.
- Headlight removal, wiring, and installation guide available here.
Overview
This guide covers the process of retrofitting the Bushdoof DIY OEM+ Kit into your existing headlights or replacement housings. Headlight removal and installation in the car are detailed in our Bi-LED Installation Guide. This version uses a simple chrome shroud that clicks onto the LED projector. No RGB or lighting features (unless chosen) for a clean OEM+ look.
What You'll Need
- Screwdrivers
- Trim removal tools (or a flat-blade screwdriver)
- Multigrip pliers
- Spray paint and primer (optional for custom painting)
- Oven
- Silicone sealant
Step 1: Preparing the Headlights
- Remove all screws and unclip any fasteners holding the headlight together.
- Take out the factory globe and globe holder(s).
- Preheat your oven to 100–120°C (non-fan forced).
- Place the headlight in the oven for 3–5 minutes, or until the glue softens.
- Carefully work around the headlight to separate the lens from the housing.
- Repeat for the second headlight.
- If painting chrome pieces, remove them now. Prepare, prime, and paint as desired.
- Once painted and fully dry, reassemble all pieces.
Step 2: Installing the Projector
- Slide the billet washer followed by the rubber washer over the projector (concave side to the headlight housing flat side towards the projector).
- Insert the projector into the headlight, ensuring the wiring exits at the rear bottom (drill holes if necessary).
- Slide the H4 locking washer over the back of the projector. Use a tab-less washer to allow rotation adjustment.
- Align the projector so the divot faces perpendicular to the ground.
- Install the locking nut and tighten securely.
- Insert a moisture pack and breather if required.
Step 3: Resealing the Headlights
- Make sure the inside of the headlight is clean and free from dust, fingerprints, or marks.
- Fit the front lens back onto the housing.
- Preheat the oven again to 100–120°C (non-fan forced).
- Place the headlight in the oven for 3–5 minutes to soften the glue.
- Slowly press the lens and housing together, working around the edge to form a complete seal.
- Reinstall all screws and clips.
- Reinstall the park light and indicator light globe holders to fully seal the unit.
- Refit the rubber boot and apply silicone sealant if extra waterproofing is required.
Next Step
Once resealed, refer to our Headlight Installation Guide for instructions on fitting the headlights back into your vehicle and wiring them up.